All guides
A tour of the Vero screen
How the Log Student workspace, History, Insights and the role-based navigation fit together.
Vero is built around one working screen: a short navigation rail on the left, the student or record you are working with in the middle, and a focused action rail on the right. The action rail changes as you move from selecting a student to choosing what to record.
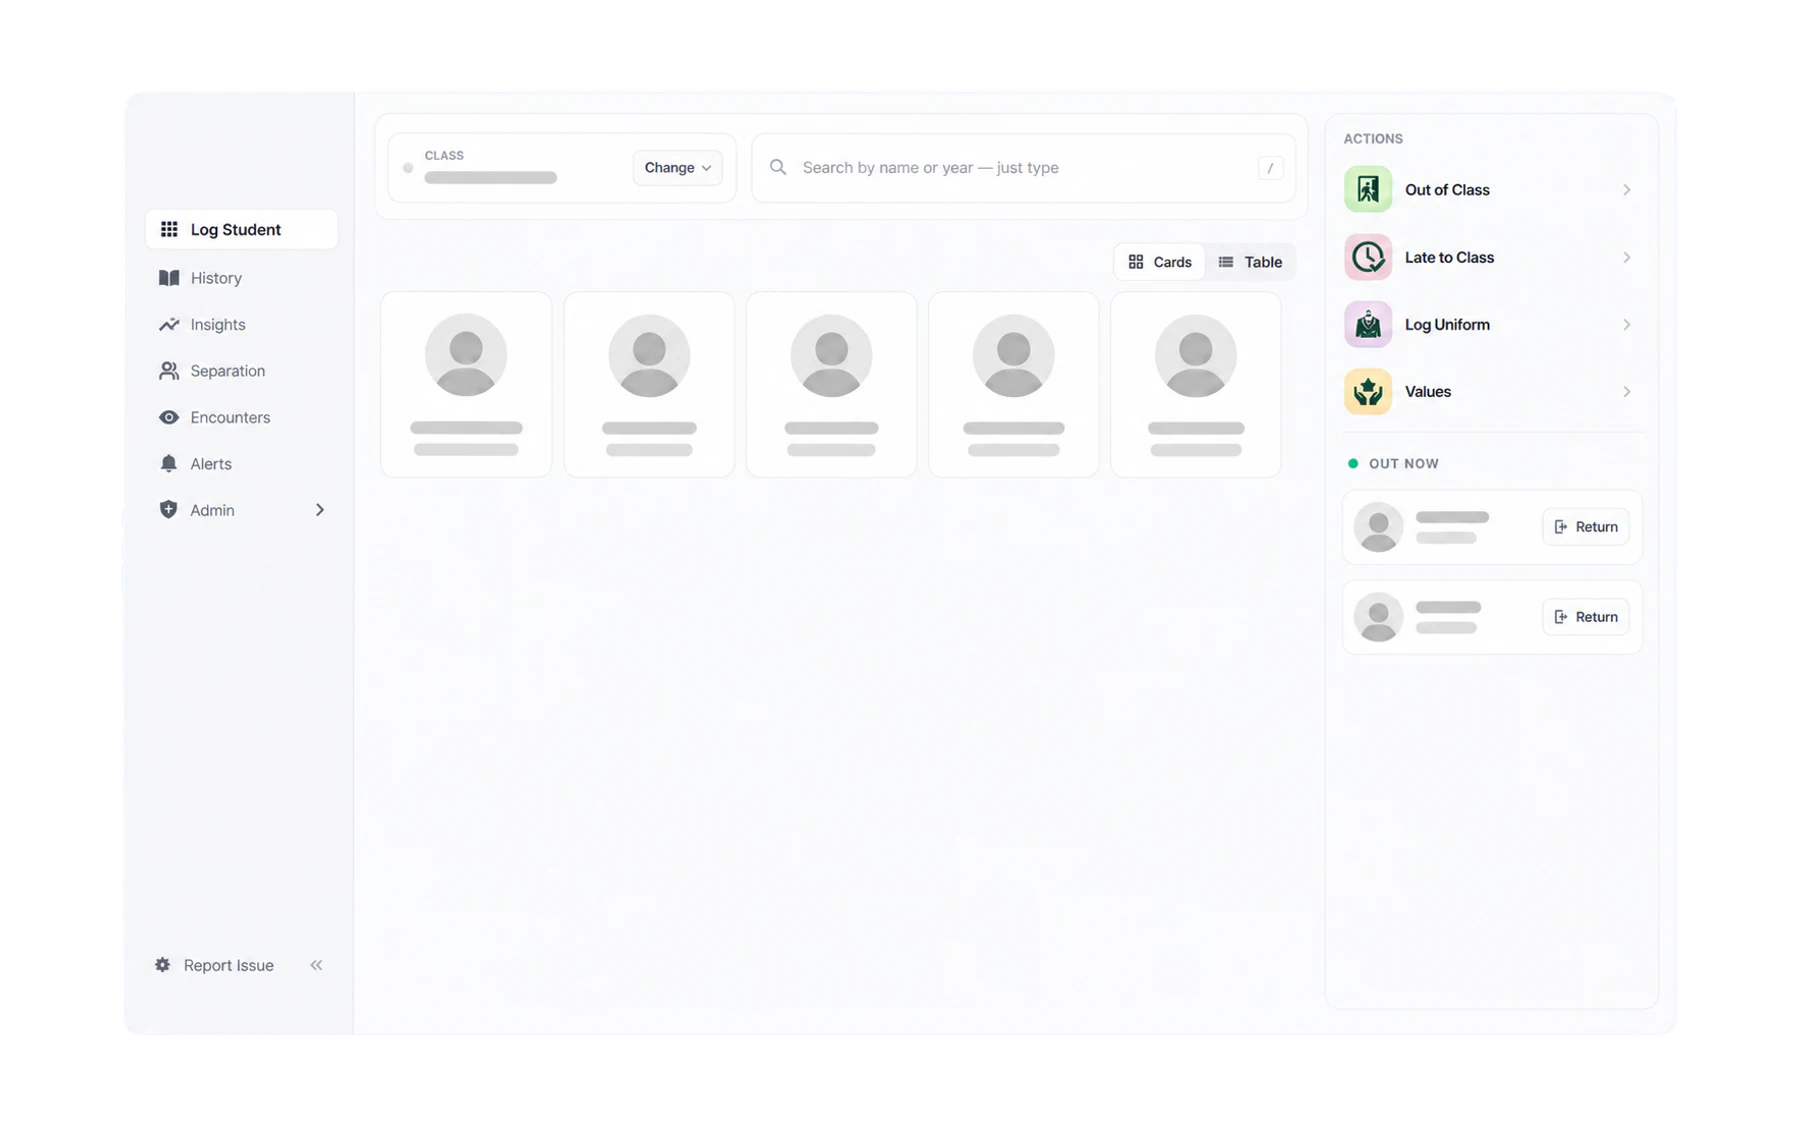
The menu, item by item
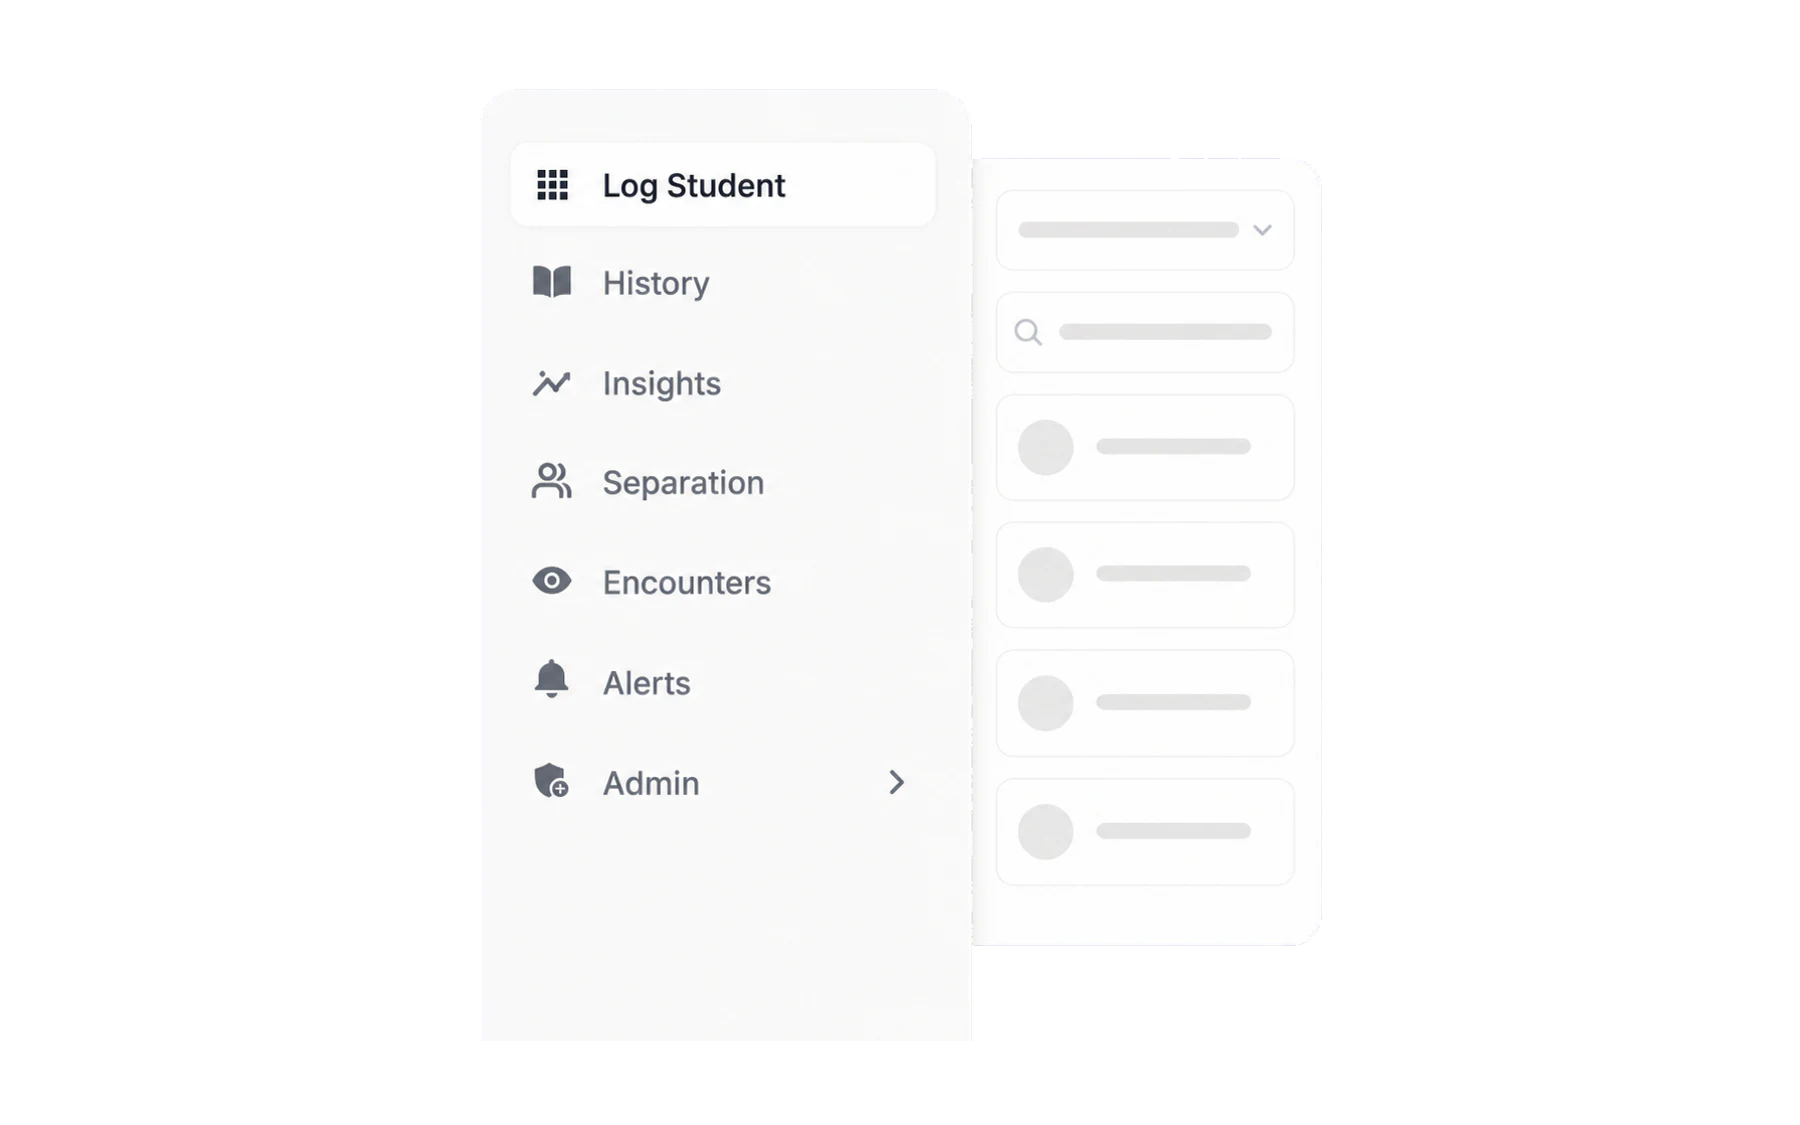
- Log Student — the Switchboard. Pick a class or search the whole school, select one or more students, then choose Out of Class, Late to Class, Log Uniform or Values. Send a student out of class.
- History — the searchable log of everything already recorded. Look up what already happened.
- Insights — the analytics view, for staff with the Insight Viewer role. Find your way around Insights.
- Separation — advisory pass-creation rules for approved student separation arrangements. Create a Separation group.
- Encounters — a restricted view of overlapping open pass records. Encounter Detection.
- Alerts — configured record-review notifications. Create an alert rule.
- Admin — everything school-wide: staff, students, roles, destinations, modules, branding and the SIS connection. School administration.
The two things at the bottom
Under the menu, Report Issue sends a message straight to our support team with the page you were on attached — use it rather than describing the problem from memory later. Your account menu holds your profile and sign-out action, which matters on a shared classroom machine.
Search, from anywhere
The search box at the top of Log Student finds any student in the school, not just the class in front of you. Press / to jump into it without reaching for the mouse. See Find any student, in any class.
On a phone
The mobile workspace uses a touch-first layout with five tabs along the bottom rather than a menu down the side. It covers the classroom-door jobs only. Using Vero on your phone.