All guides
Record and return a confiscation
Log an item, print a receipt, and hand it back through the front office with a full trail.
A confiscated phone is somebody’s $1,200 property sitting in a staffroom drawer. The register exists so that at any moment the school can say what it holds, whose it is, who took it and when it went back — which is the difference between a policy and an argument at the front desk.
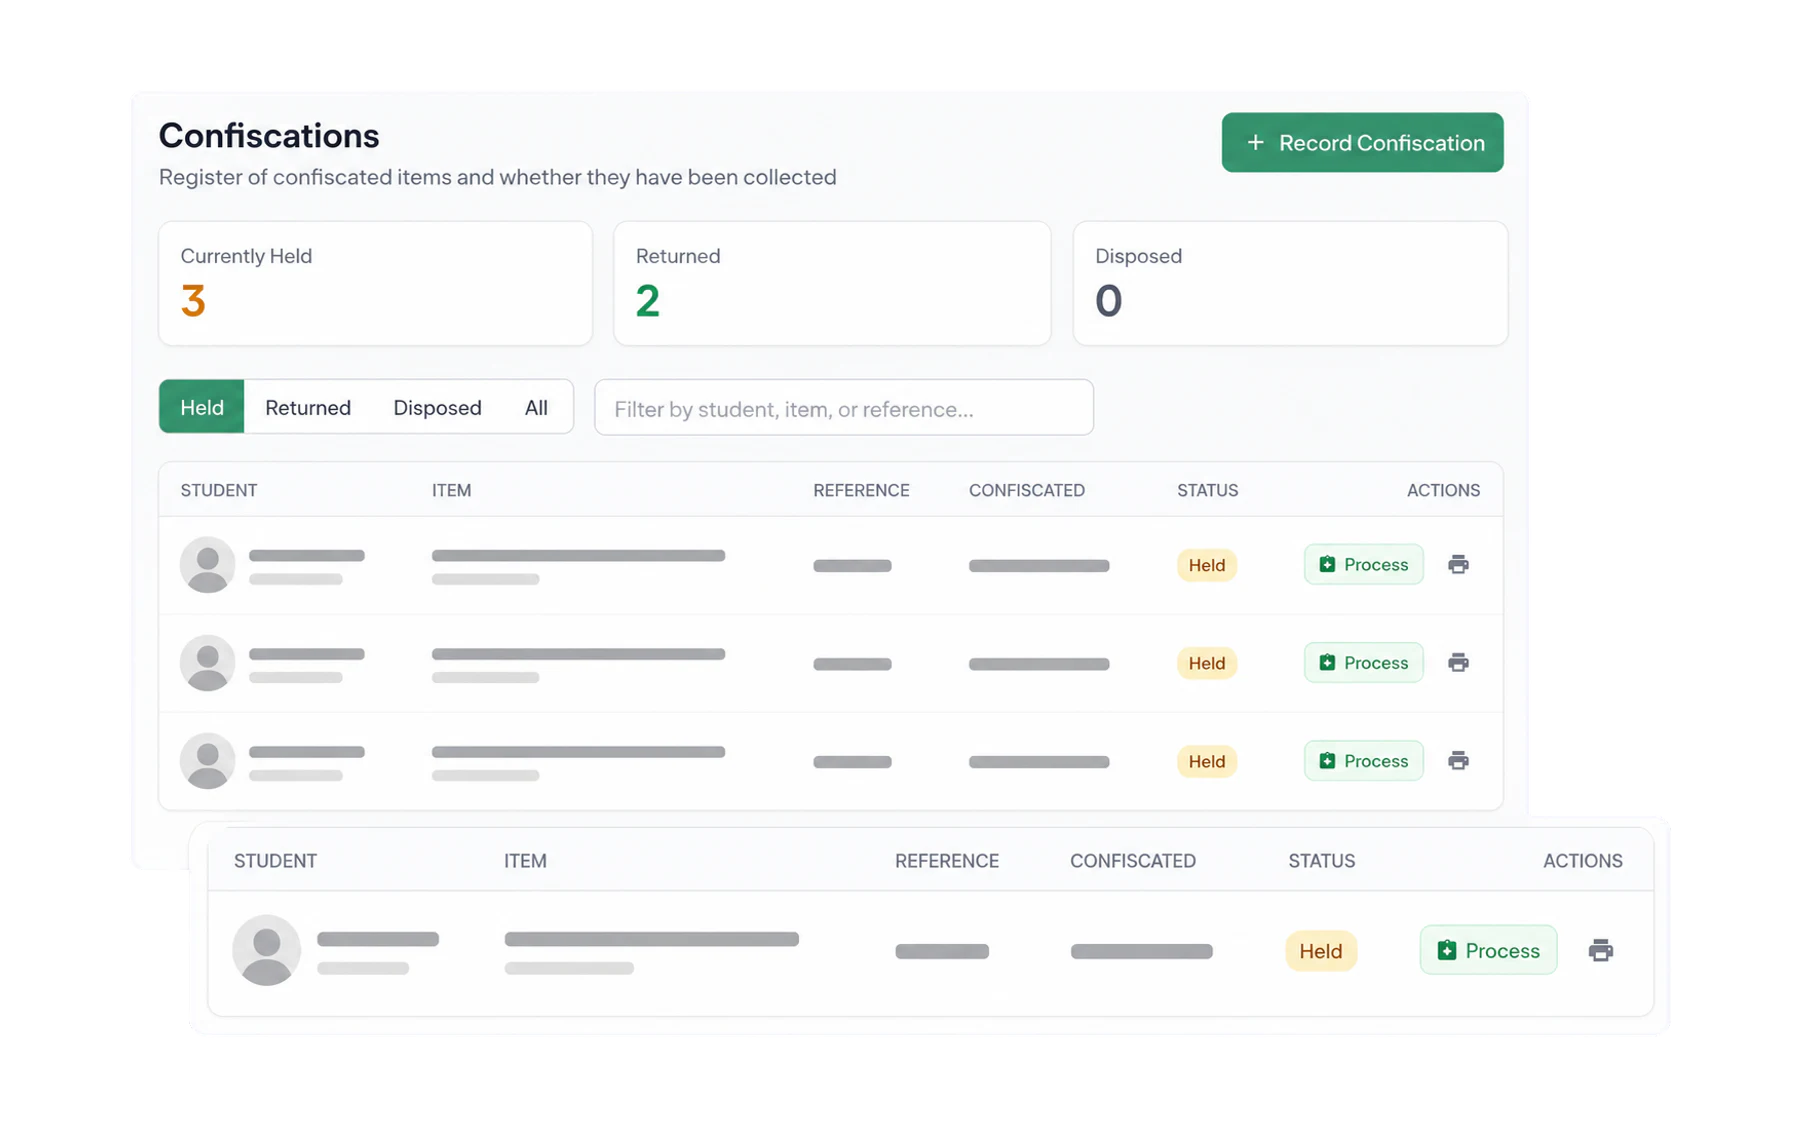
Recording an item
- Open Confiscations and choose Record Confiscation.
- Find the student by name.
- Pick a category — mobile phone, vape, earbuds, jewellery, and whatever else your school has defined.
- Describe the item. Be specific: “Black iPhone 13 with a cracked screen”, not “phone”. Two identical-looking phones in one drawer is a bad afternoon, and the description is what prevents it.
- Save. Vero issues a reference code — write it on the bag or envelope.
Returning it
Find the item — filter by student, item or reference — and record the return. Vero asks who it went back to: the student, a parent or carer, orother. That field is the whole point of the register; it is the answer to “we never got it back”.
Disposal
Vapes, aerosols and sharps are not returned. Recording a disposal closes the item with a status of its own, so the register stays accurate and there is a record of what was destroyed and when.
Who does what
- Teaching staff record confiscations — the person who took the item.
- Front Office staff hold a role of their own that lets them process returns and disposals without any of the analytics. It exists so the person at the desk at 3:30 does not need a leadership account. See Roles: who can see what.
Editing the categories
Admin → Confiscation Categories. Keep them broad enough that staff do not hesitate — the description field carries the detail. See Uniform reasons, values and confiscation categories.